![]()
Usage Guidelines
- These are the proper instructions to create a new Google My Business listing for clients
- We need this complete for any clients running a digital marketing campaign
Creating a New Business Listing
The following are instructions for creating a new Google My Business listing. Please use the links below for more information and instructions on:
Gain access to an existing claimed Google My Business listing
When to use: for businesses who have access to their claimed Google My Business listing
Claiming an unclaimed Google My Business listing
When to use: for businesses who have an unclaimed Google My Bussiness listing on Google Maps
Recovering/Requesting access to a claimed Google My Business Listing
When to use: for businesses that have lost access to their claimed Google My Business listing
Login to Google with a client provided Google account they wish to use for the listing (note: if not such account is available, we will make one on behalf of the client and give them login credentials)
Creating the Listing
- Go to https://business.google.com/manage/#/list and accept the terms and conditions.
- Click on “add single location”
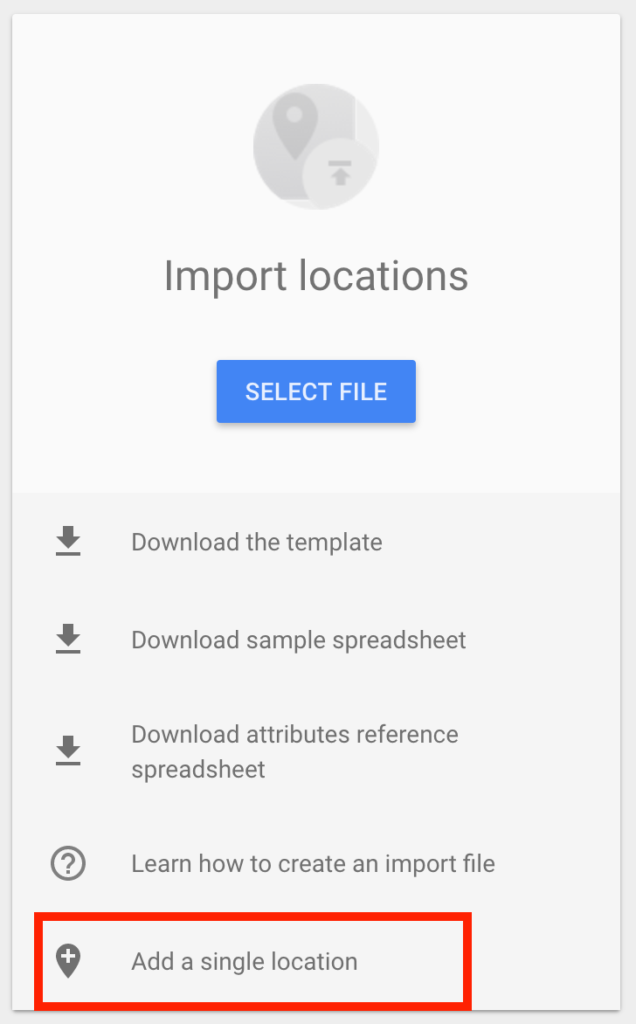
- Fill in all the business’s information (be 100% accurate)
- note: if you see your business and location auto-populate in the “name” field, it means your listing already exists and you will need to either claim the listing or request/gain access to it from the client
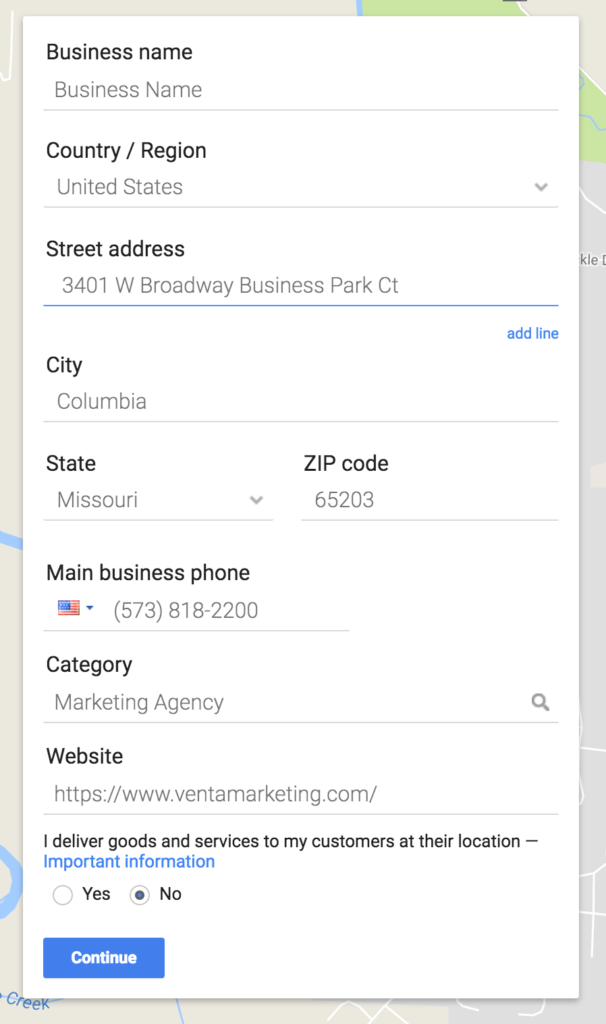
- Click “continue”
- You may be asked to accept another terms of service, accept
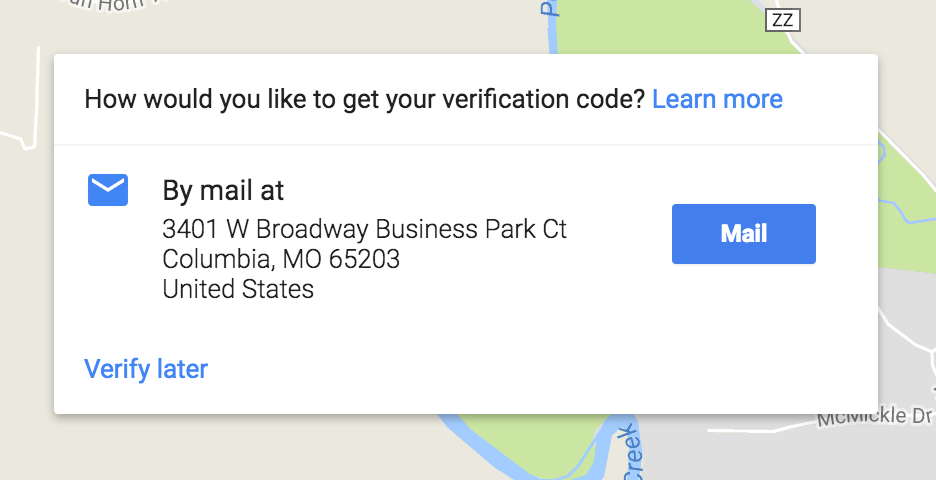
- An option for either a “by mail” or “by phone” or “by text” listing verification will appear
- “by mail” takes 1-2 weeks typically (Google sends a physical postcard with a verification number on it)
- “by phone” and “by text” is nearly immediate (Google calls or texts the business and speaks with someone at the office to confirm business name, location, and other info)
- Select one of the two options or click “verify later”
- note: the listing will not be live on Google until it is verified (instructions on Google My Business verification)
Edit Add Additional Listing Information
- Click through the welcome dialogue box
- Click “info” on the left hand menu
- Add sub-categories as needed to the listing by clicking the edit icon in the bottom right of the blue box
- In the same manner, add hours, phone numbers, website urls, and photos as needed
- note: best practice is to have a cover photo, profile photo and at least 3 other photos for listings

Share Listing Access
- Click “Users” on the left-hand tab
- In the pop-up window, click the person icon in the top right
-
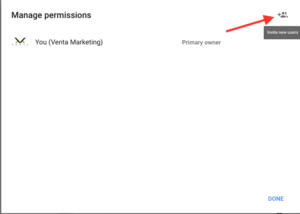
- In the add new users pop-up, add [[email protected] and/or [email protected]]
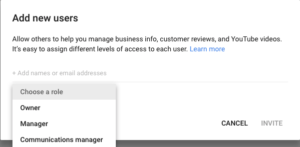
- We need an owner role
- Click “Invite”
- Go to email of newly invited account
- Accept the invitation to own the Google My Business property