Indexing
Pages are the most important part of a website because, without them, it does not exist. When you run a search on Google, you are not actually getting “live” results. Instead, what you’re seeing are web pages that Google has “Indexed”. In the video below, Matt Cutts of Google explains how this concept works. In addition, he introduces a few other related concepts you may not yet be familiar with.
There are a few ways you find out what pages Google has indexed for a given URL:
- Google Search Console – Index Status
- If you don’t have it open already, navigate to https://www.google.com/webmasters/tools/home?hl=en and make sure you are logged in as [email protected] or [email protected].
- Select a client’s account from the menu.
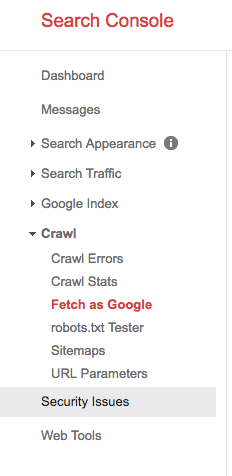
- Once you’re at the client’s dashboard, navigate to Google Index > Index Status.
- Here you’ll be able to see how many pages have been indexed and whether Google has had any issues indexing the content of the website.
- Google Search Console – Sitemaps
- If you don’t have it open already, navigate to https://www.google.com/webmasters/tools/home?hl=en and make sure you are logged in as [email protected] or [email protected].
- Select a client’s account from the menu.
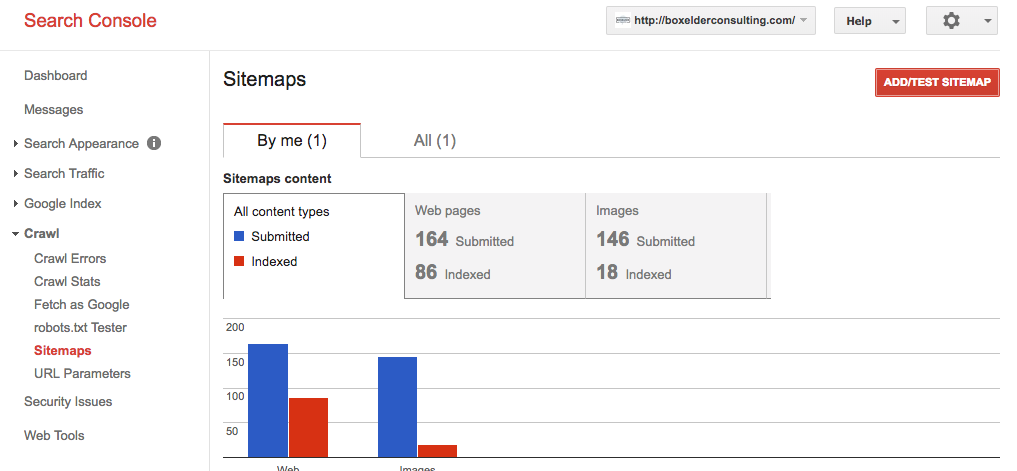
- Once you’re at the client’s dashboard, navigate to Crawl > Sitemaps.
- Here you’ll be able to see the sitemaps that have been submitted to Google. If none exist, document that none and that one needs to be generated and submitted.
- “Site” Search
Redirects
HTTP Status codes are three-digit numbers returned by servers that indicate the status of a web element. Search engines and users are unable to access your site’s content if you have URLs that return errors (i.e., 4xx and 5xx HTTP status codes).
It is important to understand that the first digit of each three-digit status code begins with one of five numbers, 1 through 5. From the 100s through the 500s, status codes fall into the following categories:
100s – Informational: Request has been received and the process is continuing.
200s – Success: Request was received and processed successfully.
300s – Redirection: Request has been received, but needs to perform an additional step to complete the request.
400s – Client Error: Request was made by the client, but the page is not valid.
500s – Server Error: Valid request was made by the client, but the server failed to complete the request.
Indexing and De-Indexing Web Pages
Indexing
Once you’ve created a page or launched a new website, you need to request indexing from Google.
- Log in to Google Search Console as either [email protected] or [email protected]
- Select a property from the list of websites
- Next type in the folder extension of the page you wish to fetch
- Ex. /our-services/ or /services/seo
- Click fetch and click request indexing
- Check the box to “Crawl only this URL” if you are indexing only one page.
- If requesting indexing for multiple pages check the box to “Crawl this URL and its direct links”.
- Do this twice for each page, once for Desktop and once for Mobile.
- Go to the Sitemaps tab on the left side navigation
- In your browser go to your client’s website and enter sitemap.xml at the end of the url.
- Ex. https://ventamarketing.com/sitemap.xml
- The url will either return the websites sitemap, or take you to a different extension such as sitemap_index.xml
- Click Add/Test Sitemap
- Enter the extension of the website’s sitemap
- Ex. sitemap.xml
- Click Submit, and then you have now requested the page(s) be indexed by Google.
De-Indexing
If a website has pages that are irrelevant, or do not exist anymore you’ll need to instruct search engines to remove them from their index.
- Log in to WordPress and navigate to the Pages tab on the left side navigation
- Select the page that needs to be de-indexed
- For Genesis theme websites scroll down under Theme SEO Settings
- Look for Robots Meta Settings and check the boxes to apply noindex and nofollow

- For websites using the All-In-One SEO Plugin
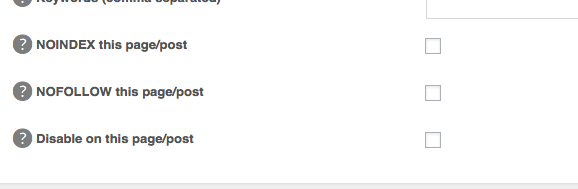
- Scroll down to below the WYSIWYG editor and go to All-In-One SEO Pack
- Check the boxes for NOINDEX this page/post and NOFOLLOW this page/post
- Update the page and then go to Search Console
- Leave the field blank and select Fetch for both Desktop and Mobile
- Request indexing for “This site and check the box to “Crawl this URL and its direct links”
- Repeat the steps for adding a sitemap to update the current sitemap submitted to Google.
- You’ve now requested de-indexing for the page(s).
Redirects
Redirection WordPress plugin
Redirection is the plugin that I use and strongly recommend for 301 redirections. It is also one of the most popular plugins available in the official WordPress repository.

- Download and Install the Redirection plugin from the WordPress repository or by searching it within your dashboard.
- After activating the plugin, go to Tools > Redirection
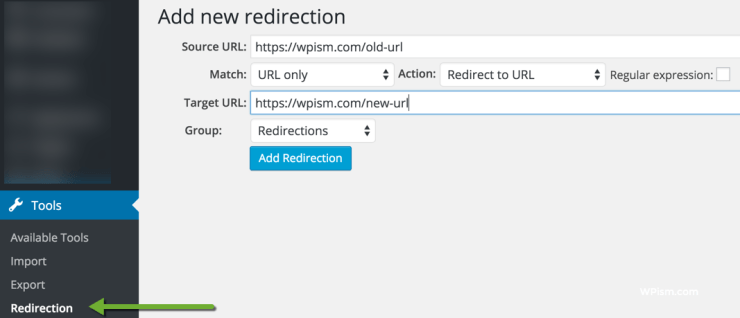
- Define the Source URL (your old, existing URL) and the Target URL (your new URL that you want to redirect to) and click on Add Redirection.
- A 301 redirection type is added by default, and this is all that you need to do.
Steps to Submit Change of Domain
- When logged into Search Console, click on the old domain that you want to move away from.
- From the dashboard, click on the Gear Icon (towards the right corner) and then click the “Change of Address”.

- You will need to follow the four steps and pass through each of them to finally submit the changes.

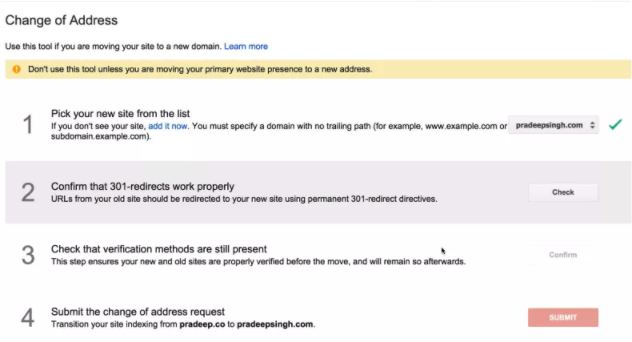
- Select the new website from the list in the first step.
- You can now confirm if the 301 redirects that you added (using codes above) are working properly in the second step.
- You will need to have both the domains verified even after the 301 redirects.
- Click on Submit and you have successfully notified Google of the change.
Note for Step 2: You might not pass the step 2 immediately after adding the htaccess redirection code, but try it again after one or two days and you should then be able to confirm all the steps.
