Canva is a great tool for making infographics, social posts, and website images for clients. The uses are endless, and I am constantly finding new things to do with it. Here are some tricks for using Canva and keeping it organized, as well as some general tips for using Canva well.
Our Canva Space
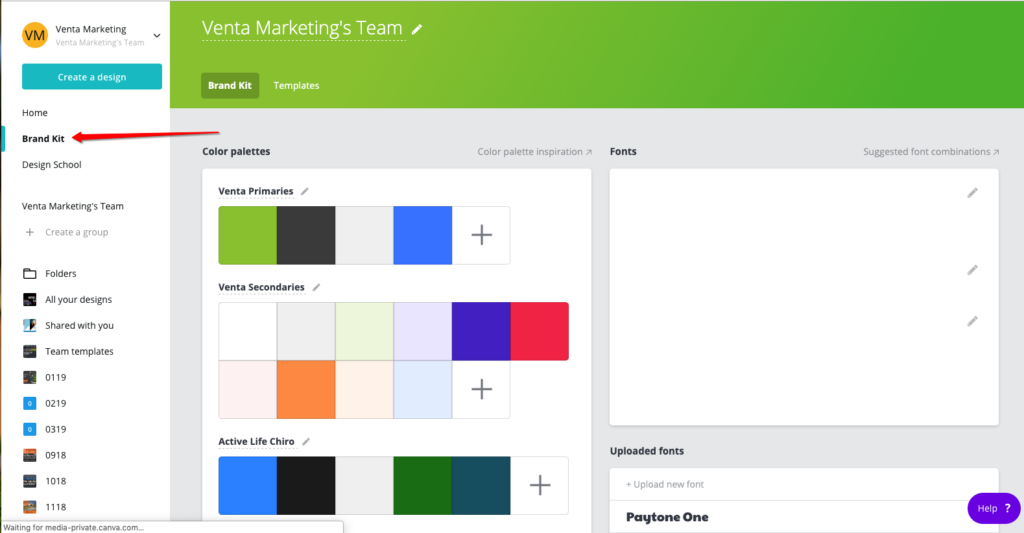
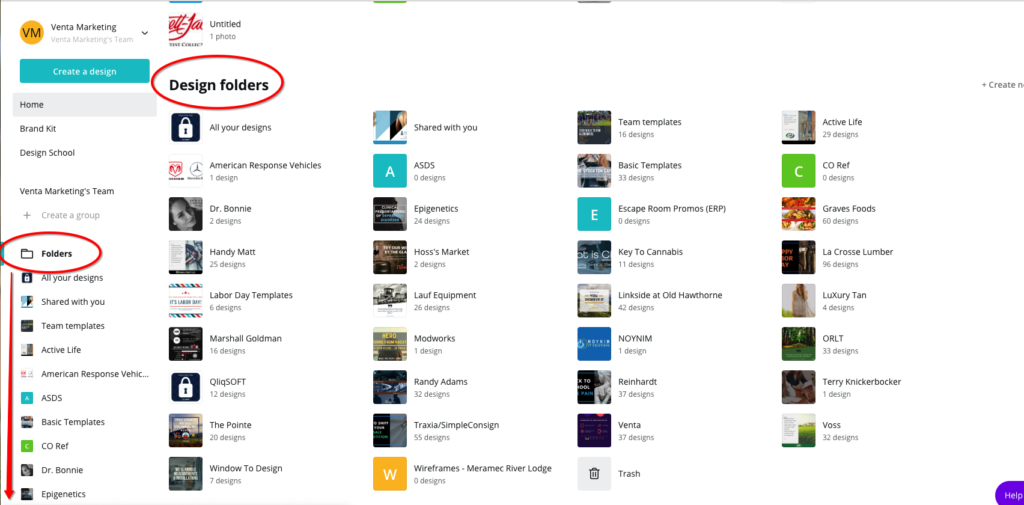
Our Canva space is filled with our clients brand information, including logos and brand colors. You can see everything and add more assets in our “Brand Kit” page.
Brand colors
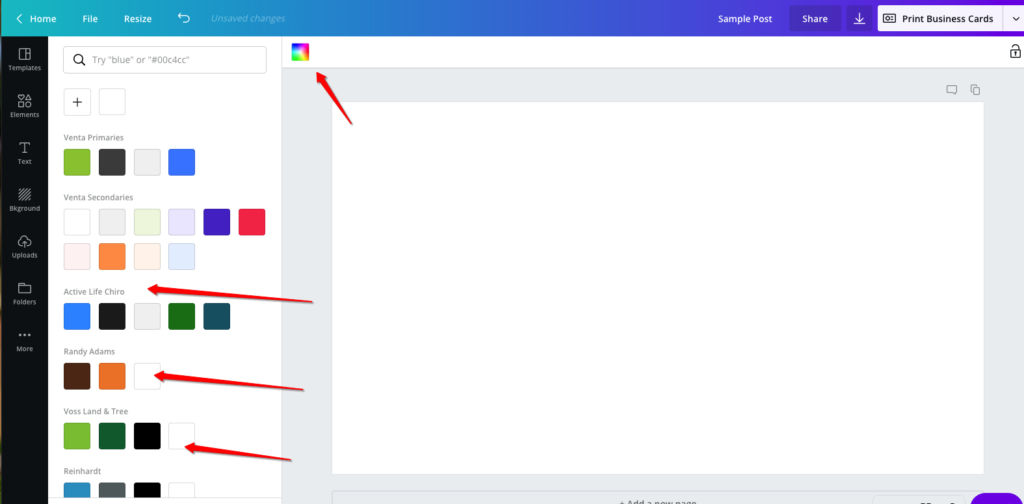
You can find brand colors on the Brand Kit page, or you can find them easily while creating a post. If you need to add a new brand color, you can add it by hex code from the Brand Kit page.
Fonts
Some of our clients have fonts we need to use when making posts or graphics. Each client is different. Your best bet is to pull fonts from previously made graphics found in the client’s Canva folders, or check the grab fonts from old posts or use new ones. You can upload fonts (that we have the rights to use) in the Brand Kit.

Canva also has plenty of pre-formatted font combinations you can look through in the Text section. You can manipulate them for your designs if you need an idea of a font pairing that will look good together.

Logos
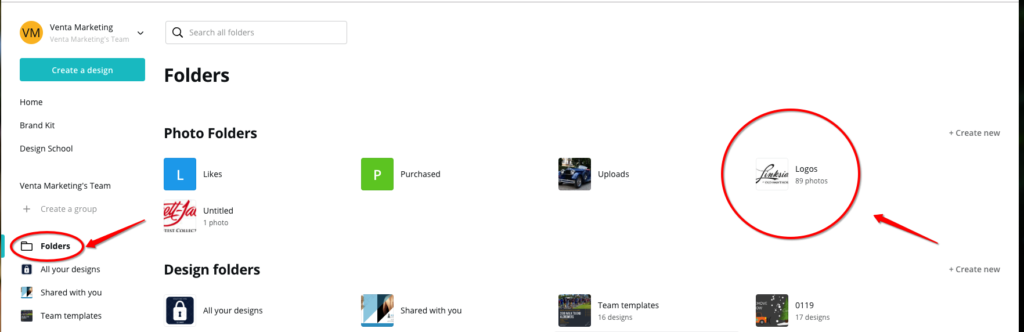
Any client logos for clients that we have are currently uploaded and stored in our Logos folder. You can upload new logos in here at any time.
Client folders
Client folders are where we store designs and templates we’ve use for individual clients. Explore them, look around, and see what we’ve done in the past. You’re free to copy and update anything in these folders.
These are great places to look for ideas for graphics and social posts that we’ve done in the past, or to pull old fonts or templates that you like.
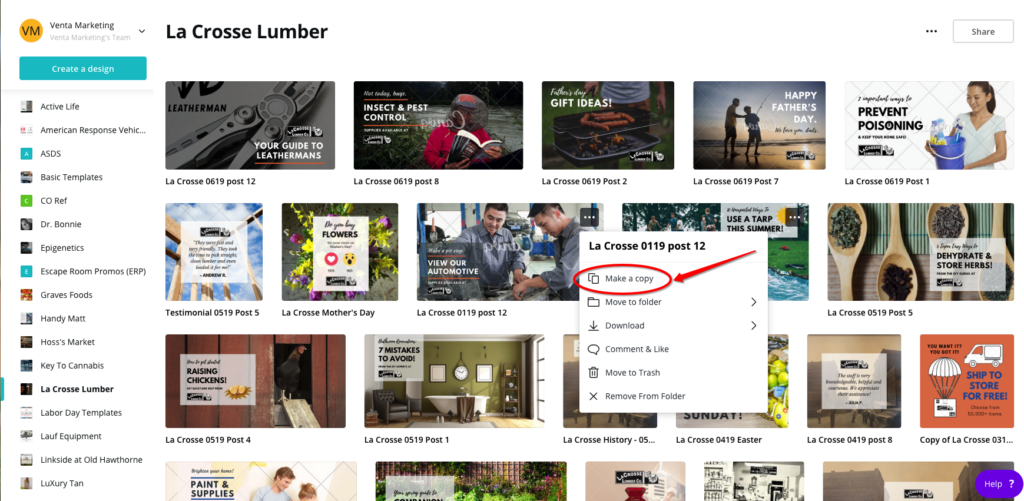
If you want to use an old graphic as a template or a starting point, always make a copy. Don’t edit the original. If you make a new graphic for a client, make sure to add it to the correct folders.
Creating Designs
To create a design, either start from scratch or use a previous post as a starting point. Check out the client folders, and make a copy of the design you want to work off of.
Tip: Canva also has tons of templates you can look through. You can change photos, colors, sizing, etc. Sometimes it helps just to have a rough structure to work with.
For reference, Canva has templates for all types of graphics, including:
- Social posts
- Logos
- Flyers
- Infographics
- Ads
- Etc.
Naming a design
Keep things organized by naming your designs with the Client’s name, the month/year it was made and a slug for what the design was for. An example can be seen above for La Crosse’s 12th social post, made for January 2019.
Finding Graphics, Icons and Images
Canva has a significant free reservoir of photos and graphics you can use for any design. Check here first, but if you need something specific, you have options.
1.) Check client folders for brand-specific pictures, videos, logos, etc. If you don’t see anything, ask a team member if we have anything or where it would be located. Sometimes we do, sometimes we don’t.
2.) Utilize stock resources. This blog post on Venta’s blog gives the best 5 resources that we use for stock images and free icons/vectors. We have a subscription to Envato Elements, and the rest are free.
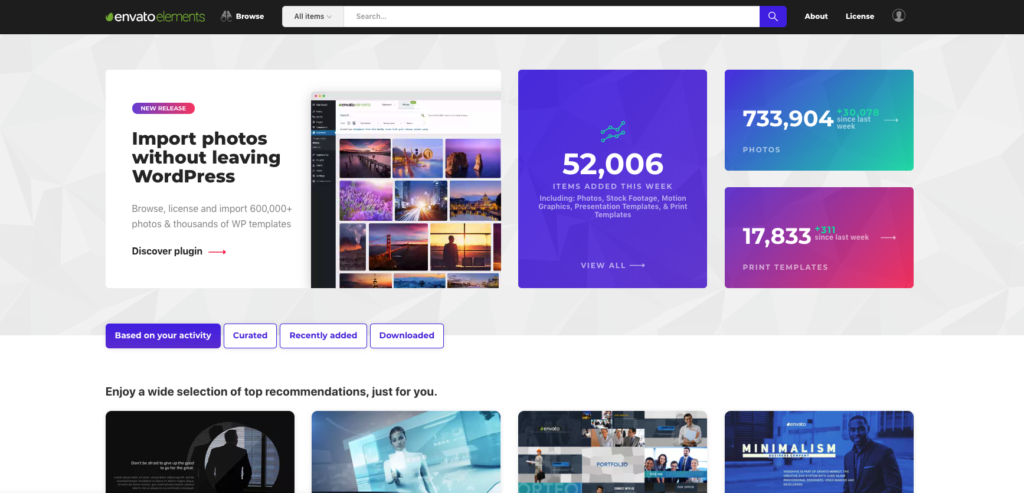
Pro Tip: Envato images are huge when you download them. Size them down before you upload them anywhere.
Making Animations
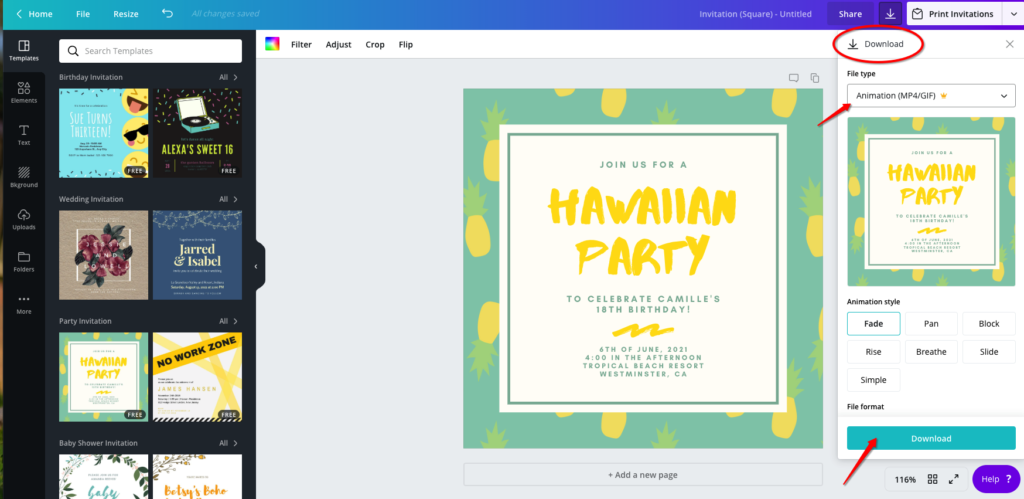
Canva allows you to download any graphic as an animation (MP4 or GIF). To do this, simply select the Animation option from the download tab.
Pro Tips:
- When you download a GIF, make sure to size down the graphic to be as small as possible, as GIFs are naturally very large files on their own. Sizing them down first helps keep them at a reasonable file size.
- When we are downloading animations for our Facebook clients, always choose an MP4. Users need to press play to view GIFs on Facebook, but Facebook will autoplay and autoloop small MP4 files. This is why we choose MP4s as a best practice.
Tips for Making Things Look Cool
Here are some of the tricks I use to make certain design effects in Canva:
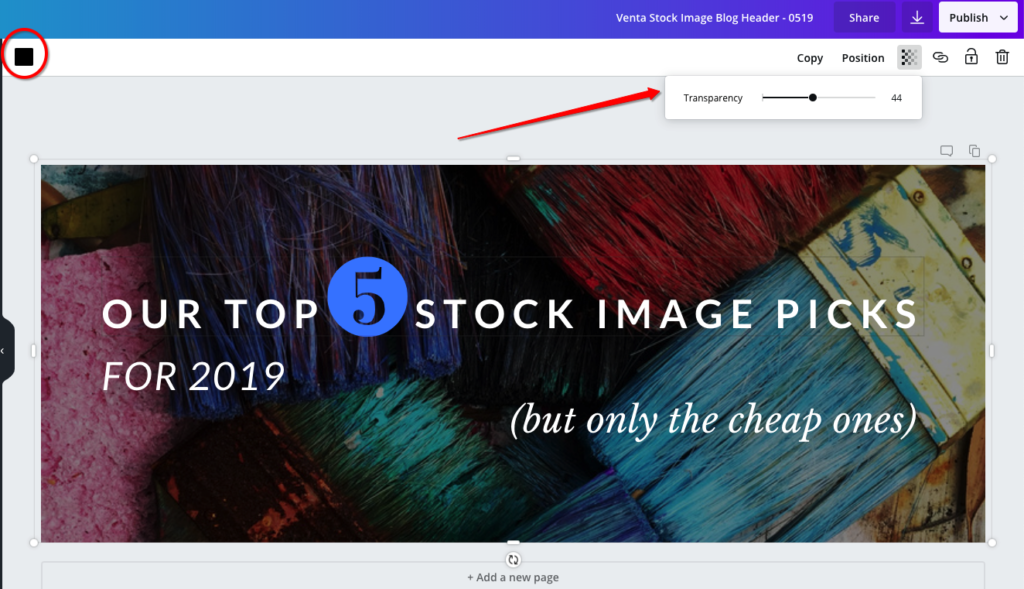
1. Add an opaque black (or colored) rectangle over an image to darken before adding text.
White letters show up best with a black opaque overlay, and black letters show up best with white. Play around with it to see what you like.
2. Use a variety of fonts for each graphic.
If you are using a Canva text group, there will be different fonts for headings, subheads and body text. Stick with these to make your graphics look more dynamic.
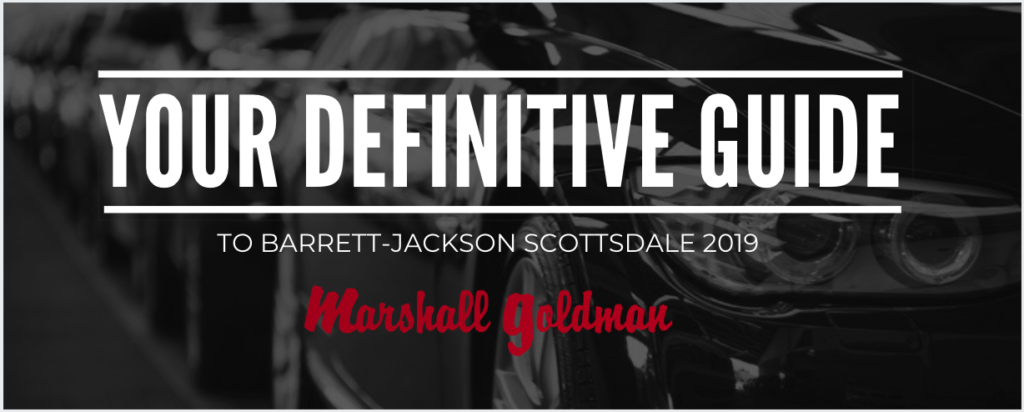
3. Get creative with using graphics for numbers, lines, or images.
Examples: