These steps show you the basics of how to create and edit a new monthly newsletter in MailChimp. If you have questions, particularly client-specific questions, just ask.
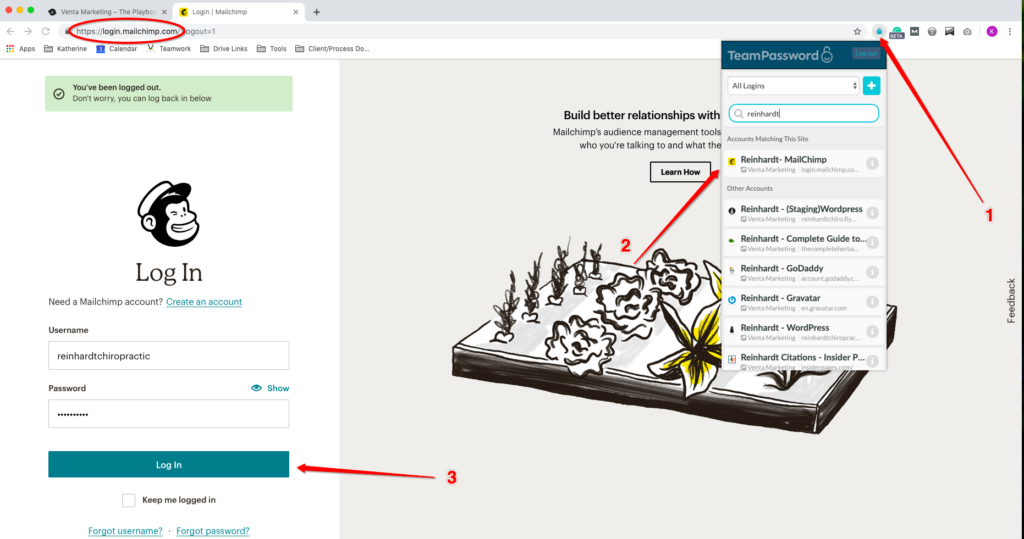
1. Login to MailChimp
Login to MailChimp for the client you need to edit using TeamPassword.
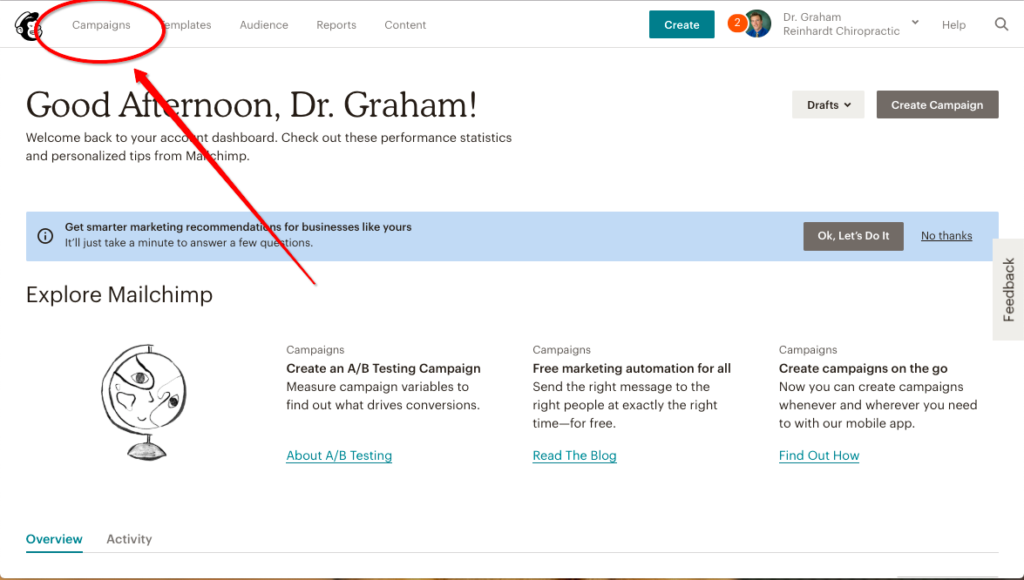
2. Replicate your last campaign
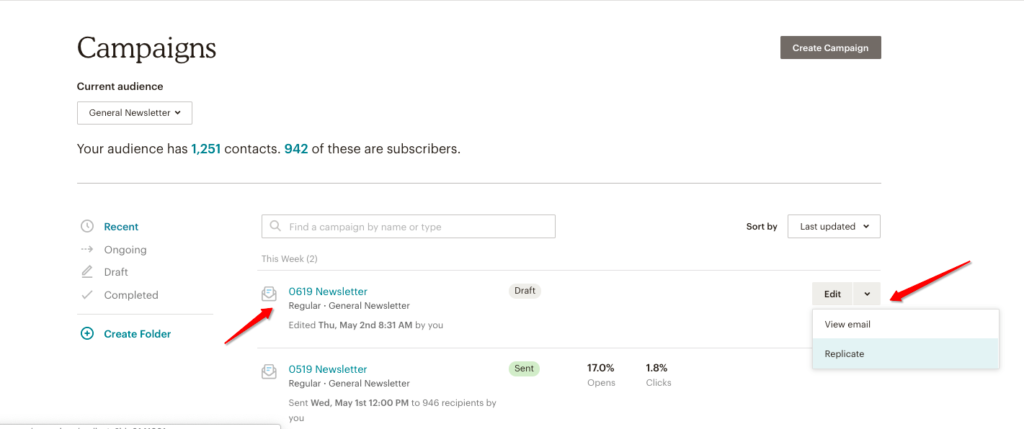
Navigate to campaigns and replicate your last newsletter template.
Once you replicate your template, you will be able to edit the new version freely. Save the latest month’s newsletter using the naming convention “0619 Newsletter” → with the numbers indicating the month and year you are creating. The newsletter shown above is for June 2019
3. Write a new subject for your email
The subject line should be short and catchy. Use active voice and present tense. Use an emoji if it works with the subject of the blog, but keep it professional.
Next, update the preview text to include a quick snippet of why people should open your email. Keep it short and catchy. Include a CTA.
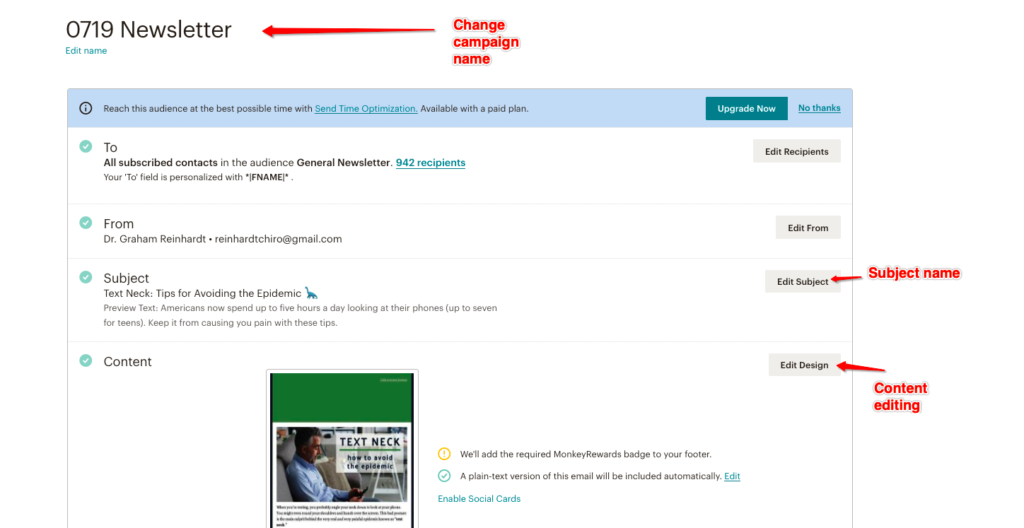
4. Swap the featured story
Hit “Edit Design” for your new mailing. It will bring you to an editing screen. Change out the blog header image (or images) to the new header you’ve created for this month.
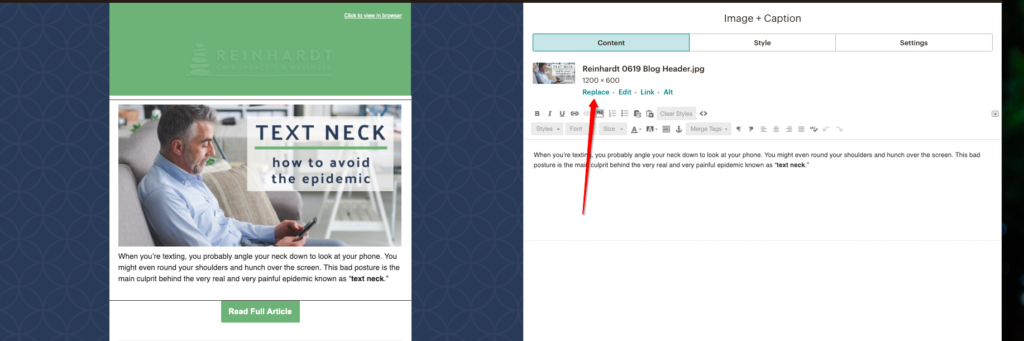
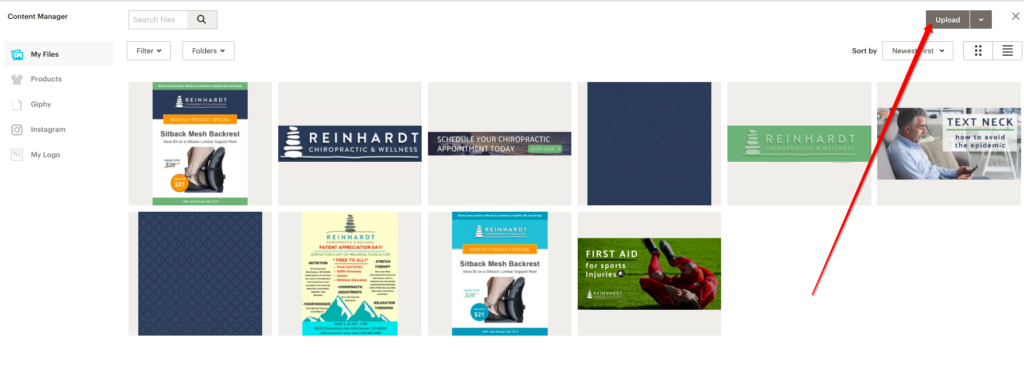
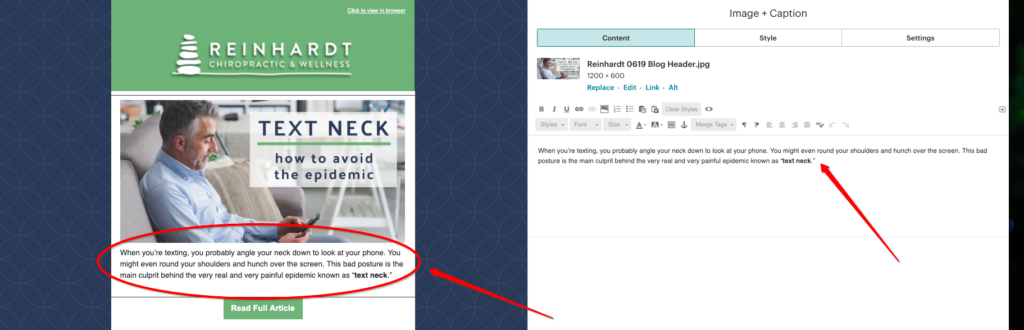
Click on the block you need to edit (the top block, in this case) and find the image located at the top of the text editor. Click “replace” to find and upload your new blog header. Keep in mind that headers should be 1200 x 600.
If the client does not need a header and uses images instead, find stock images (or client-provided images) that work for the story and insert them in the same place above a featured story.
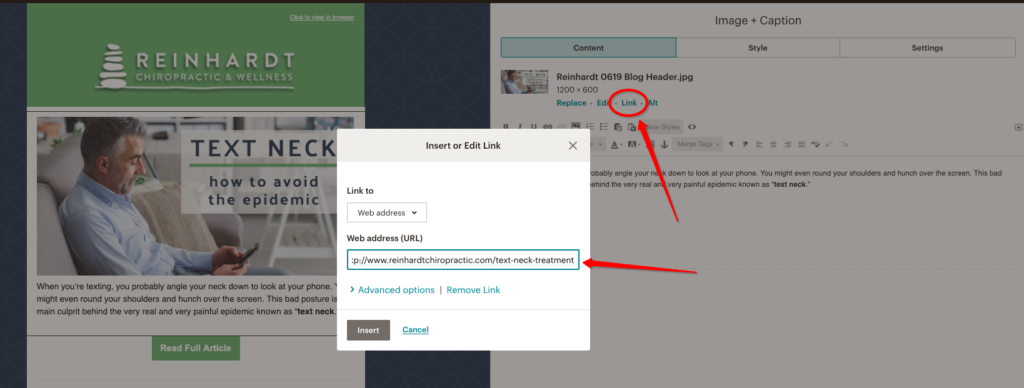
Once you’ve changed out the header image, replace the link to the image. Here you should put the URL to the blog post that you are featuring. If the post is not yet live, create a new URL for the blog and be sure to post the new URL in the Teamwork task for the newsletter before you check complete. This will help whoever publishes the blogs easily find the correct URL to sync up with the newsletter links come time to go live.
Next, add a brief preview for the article underneath the header image. Keep it down to a few sentences. Sometimes the first few sentences of the blog are good here, but use your best judgment to make it feel natural and enticing.
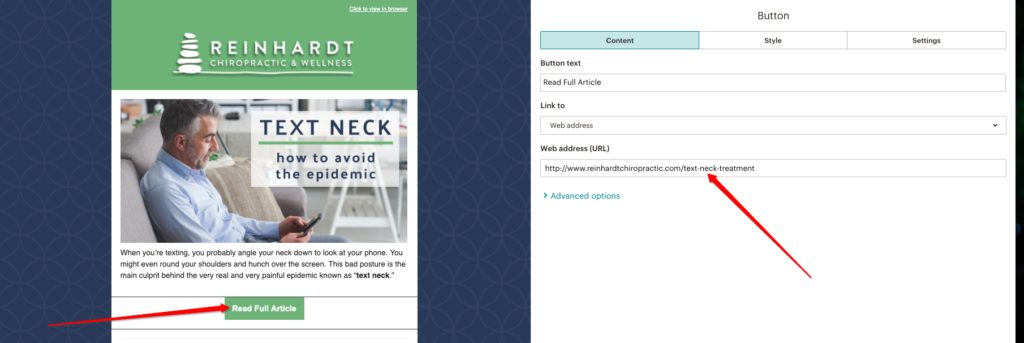
The last step for the featured story is to change the URL link to the buttons. Use the same URL that you used above for the feature image.
Click on the button block that you want to edit and add the URL under “Web address (URL)” shown below.
5. Continue with other sections
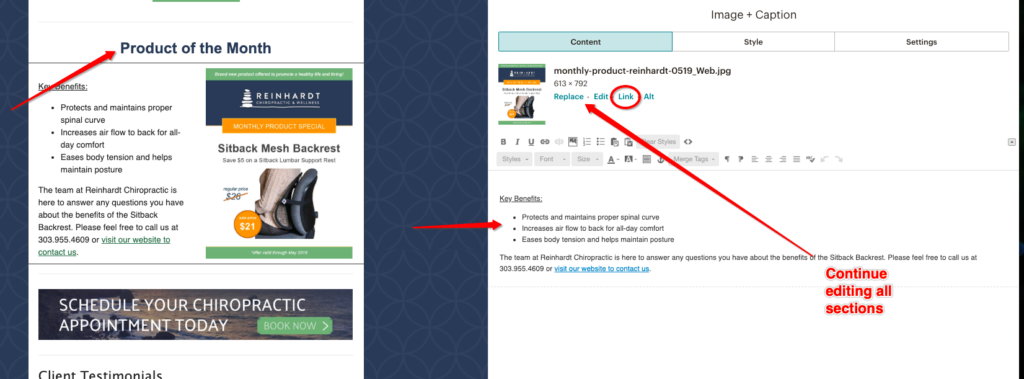
Depending on the client, you will have other sections to fill out, such as a second featured story, a monthly product special, testimonials, service features, or upcoming events. All necessary information should be provided by Account Services before you start.
Make sure that every element has the proper pictures and information and is formatted correctly. Make sure all photos and images include a URL and that all buttons include the correct URL landing page.
6. Add email link to Teamwork
Save and close the email you have finished and head back to your “Campaigns” screen. From here, you will see your draft at the top of your “Recents” lists.
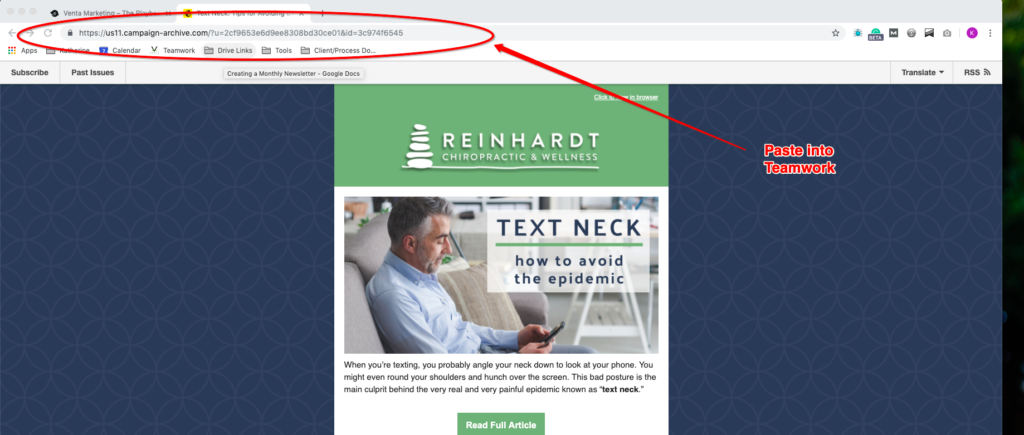
Click Edit > View Email
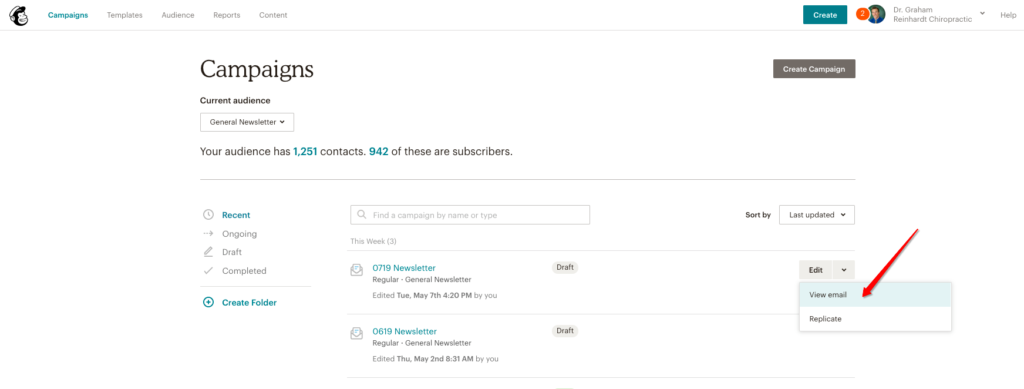
This will take you to a preview of what your finished email will look like. Double check to make sure everything looks correct. Shrink the browser window to view the email on mobile and check for sizing issues and responsiveness.
If everything looks good, copy the email URL from this screen and paste it into your Teamwork task and mark the task as complete. Don’t forget to log your time!